-
Member

 "Sliding" Desk + DIY Rack 2.0
Alright, this isn't really a DIY, more of a show off. Basically, me and my cousin decided to design a desk that 'slides' out to you, so when playing the monitors are close to you, but you don't have to do the whole dance when getting up or down. We built it out of 3/4 inch plywood, and stained it. Cost wasn't too bad, couple of hundred bucks, IIRC. We also designed a mouse stand and Nostromo stand out of the same material. Both are hollow, and the Nostromo stand serves to hide the USB hubs + usb to cat 5 converters that allow me to have Nostromo's more than 15 foot from a computer, yay! At the same time we redid the DIY Rack from before, to make it a bit cleaner. All this was done a year ago, pictures were taken, but never uploaded. Also, yeah, I know the room needs cleaning. Bachelor pad, sue me. Anyway, here we go:
A picture of the whole arrangement

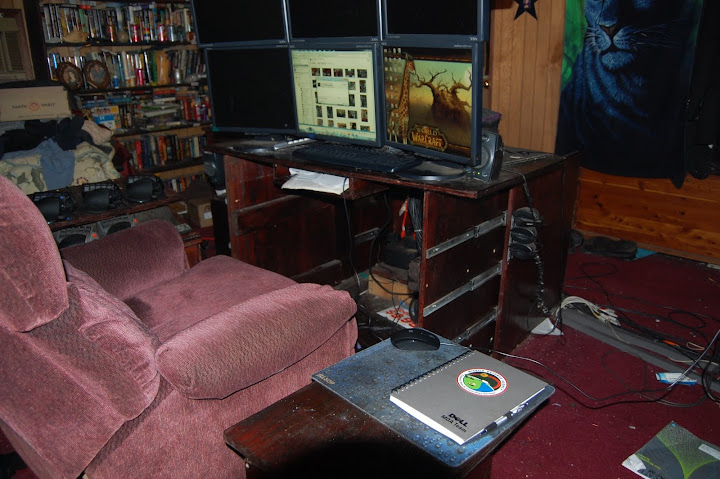
This is a first person perspective of the slide fully extended + keyboard tray and gratuitous cat shot.


The nostromo collection to my left hand side:


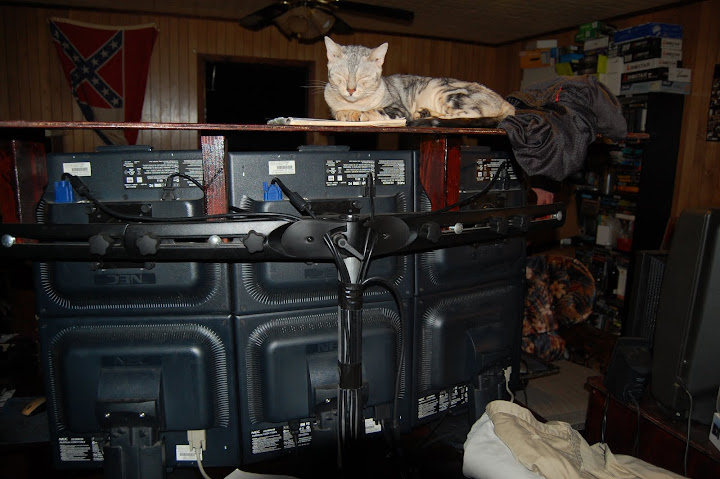
Here is my other cat illustrating the purpose of the wood thing on top of the monitors, I dub it the "Cat Walk." It was built after I saw her trying to balance (successfully, amazingly) on the upper rim of a LCD monitor. Talk about scary. It also shows the cable management for the monitor cables.

I don't have a shot of the rack fully loaded (currently 1 machine is broken, and part of the rack is a mess because I'm working on it. Since I'm very likely to be moving soon it doesn't make sense to 'fix' it right now, since it will have to be disassembled (to a point) for transit anyway. Heres a picture with most (all but 1) of the machines in place while we were working on it :

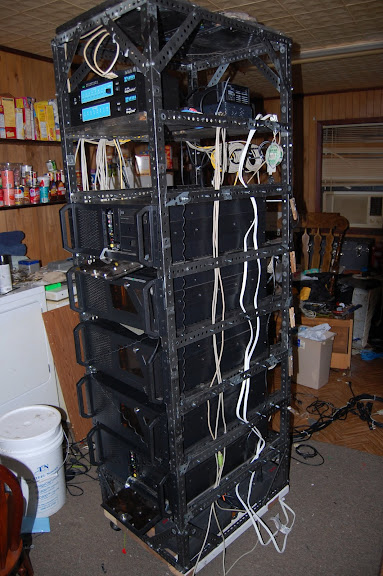
The cables down the side are part of a cable management system, there are channels down the visible side of the rack that the cords go down. Here is a more complete picture of it where you can see the 'rolls' of excess cable at the back. Its actually curtain rods, which happen to fit in the 'holes' in the angle iron and make a nice removable rod to hold bundled cable behind each case.

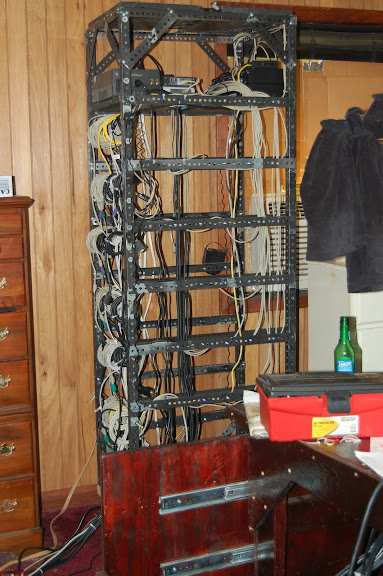
Heres the rack completely unloaded without the 'platform' for the Vetra's. Its a lot sturdier than it was. It was assembled this time primarily out of self-tapping screws, although some nuts and bolts were still used.


I know I didn't do an elaborate a job as my previous DIY. Just figured I'd post if anyone is interested.
Tags for this Thread
 Posting Rules
- You may not post new threads
- You may not post replies
- You may not post attachments
- You may not edit your posts
-
Forum Rules


 Reply With Quote
Connect With Us